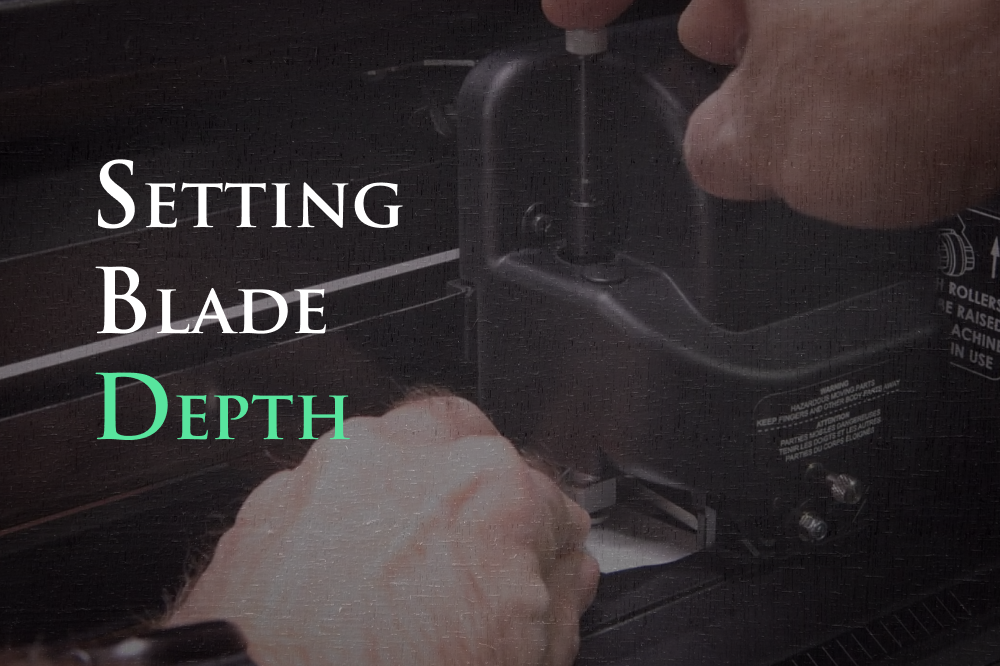
Blade Depth: A Comprehensive Guide for Setting Blade Depth on your Summa Cutter
Getting the Right Blade Depth: A Complete Guide to Setting Up Your Summa Cutter The blade depth on your Summa cutter has a big impact on how well it cuts. When you set the right blade depth, you get clean exact cuts and make your blades and machine last longer. This guide will show you the key steps to get the perfect blade depth, whether you're just starting out with digital cutting or you're an old hand looking to improve your setup.
Understanding Blade Depth
Before we get into the nitty-gritty, let's talk about what blade depth means. It's how far the cutting blade sticks out from its holder. This measurement decides how deep the blade cuts into your material. It affects the quality of your cuts and how well your machine works overall.

Why Blade Depth Matters
- Cut Quality:A blade that's not deep enough can leave cuts unfinished, while one that goes too deep might slice through layers you want to keep or harm the base material.
- Blade Longevity: Setting the right depth puts less strain on the blade, which means it lasts longer and keeps working well.
- Material Integrity:Getting the blade depth just right helps to avoid problems like ripping or warping the material so you end up with clean exact cuts every time.
Step-by-Step Guide to Setting Blade Depth
1. Gather Your Tools
Before you start, make sure you have everything you need:
- A Summa cutter
- A cutting blade compatible with your machine
- The material you plan to cut
- A test piece of the same material
2. Load the Material
Place your material onto the cutting bed of your Summa cutter. Make sure it is aligned properly and has completed the loading sequence. This ensures that your test cuts will be accurate and representative of your actual cutting job.
3. Adjust the Blade Holder
Install the cutting blade into the blade holder. Ensure that it is securely fastened and properly aligned.
4. Set the Initial Blade Depth
Start by setting the blade depth to a conservative setting—one where the blade is extended slightly beyond the blade holder. This is your starting point for adjustments.
5. Perform a Test Cut
Conduct a test cut on a scrap piece of material. Run the Knife Pressure test from the settings menu. This will help you assess the blade's performance without risking your main material.
6. Evaluate the Results
Examine the test cut closely:
- Depth: The blade should cut through the material cleanly without excessive force. If the cut is too shallow, the blade depth needs to be increased slightly. If the blade cuts too deep, reduce the depth. The “scoring” of the blade tip should be seen in the backing liner of the material but not cutting more than 3-5% into the backing liner.
- Cleanliness: The edges of your test cut should be smooth and free of jagged lines or tearing. Adjust the depth until the cut is clean and precise.
7. Fine-Tune the Depth
Based on your evaluation, make small adjustments to the blade depth while keeping the blade pressure the same. If you reach a point where the blade is extended out from the holder further than the material you are cutting is thick, do not increase the blade depth any further. Leave the blade depth where it is and with small increments start increasing the blade pressure setting on your cutter. Incrementally increase or decrease the depth until you achieve the desired cut quality. Remember, small adjustments can make a big difference.
8. Save Your Settings
Once you have the blade depth set correctly, your Summa cutter will save the setting in the current User Configuration you are in. This will ensure that you can quickly return to these optimal settings for future cuts, reducing setup time and minimizing the risk of errors.
9. Regular Maintenance
Regularly check and adjust the blade depth as needed, especially when switching between different materials or blade types. Consistent maintenance and calibration will help keep your cutter in top shape and ensure the best possible results.
Troubleshooting Common Issues
- Blades Not Cutting Through Material: Increase the blade depth slightly and ensure the material is properly aligned and secured.
- Blades Cutting Too Deep: Reduce the blade depth and check for any obstructions or damage to the blade holder or nose piece.
- Inconsistent Cut Quality: Ensure that the blade is sharp and correctly installed, and check that the material is evenly supported.
Conclusion
Setting the correct blade depth on your Summa cutter is essential for achieving high-quality, precise cuts. By following these steps and regularly maintaining your equipment, you can ensure that your cutting projects turn out exactly as planned. Remember, the key to mastering blade depth is patience and practice. With time, you'll develop a keen eye for the perfect settings and a deep understanding of your cutter’s capabilities.

